Hi Everyone,
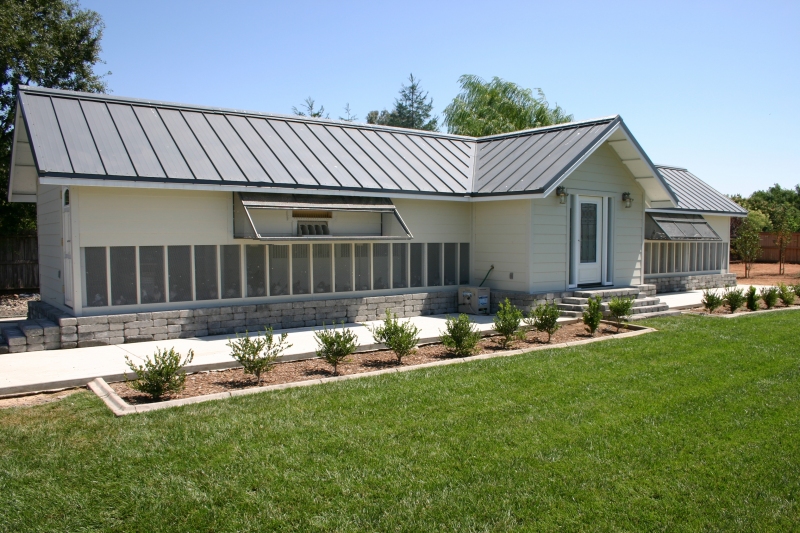
Well, I just purchased a new home in a rural area of Chico, California. It sits one 1.5 acres and zoned for the pigeons. So I decided to build my idea of a "Dream Loft". Over the past 30 years of flying I have built my share of lofts and this is what I came up with. I am most proud of the simple design which minimizes the time and effort to keep the birds healthy all year long. I hope some of the things I included might give you a few ideas in building your next loft. Happy Flying!! Mike

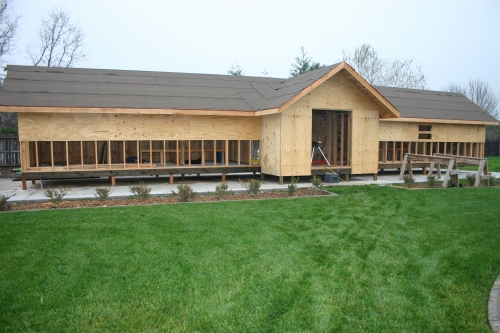
The loft is 60 feet long by 12 feet wide (the center feed room is 12' x18' feet wide). There are 6 sections and the feed room.

I used an all metal roof which is great as the birds can only land on the ridge. Within a week I have them all landing on the trap board !
.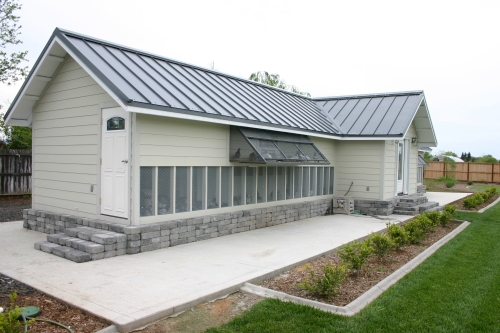
The trap board and aviary is steel framed with the door on sliding nylon rollers. A counter balance is used to make it effortless to push up. It is all powder coated and the board itself is made of hardiplank which will withstand many years of bad weather. The front is also powder coated.
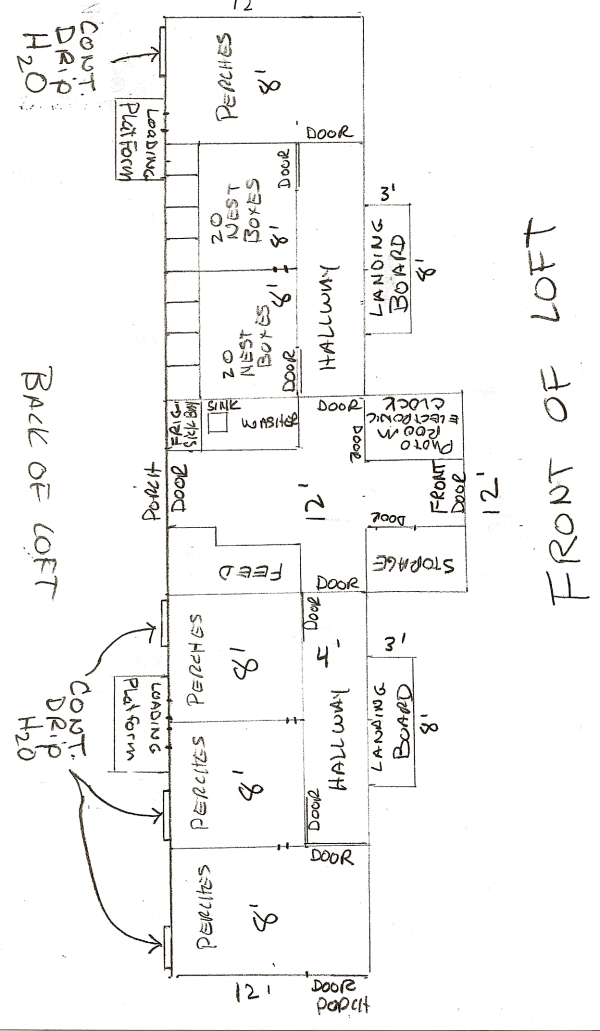
This is a rough floor plan that I hope makes some kind of sense!! I'm not much on plans.

I highly recommend a concrete slab wider than the loft with a very slick finish under the loft so it can be easily cleaned . The front portion has been rock salted. It is sloped towards the back for drainage. The pipe sticking up is a drain that I attached to a leach line (I dug a 10' x 10' hole 5' deep and filled it with small rock and covered it with roofing felt and dirt. This is for my continuous drip watering system, dishwater and sink etc. The floor is completely of catwalk metal (except the feed room) I purchased at a metal salvage yard. It can be cut to fit in large sheets with a metal saw. The feed room in the center is 3'4 inch ply wood screwed so it can be take up if needed for repairs. The floor is 18" off the ground..

Stick framing begins!


Looking from the feed room with the photo room on the right and the hall way going into the old bird sections.

Welding up the trapboard frame and aviary

From the feed room with the photo room on the left and the storage on the right.
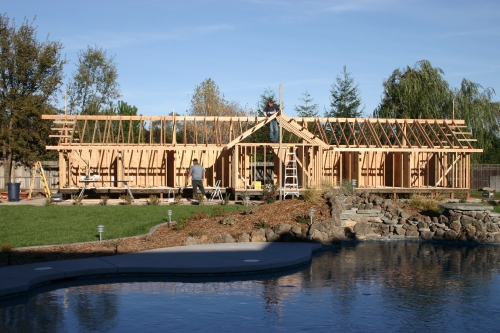
Looks like a big tinker toy set!

Getting ready for the metal roof.
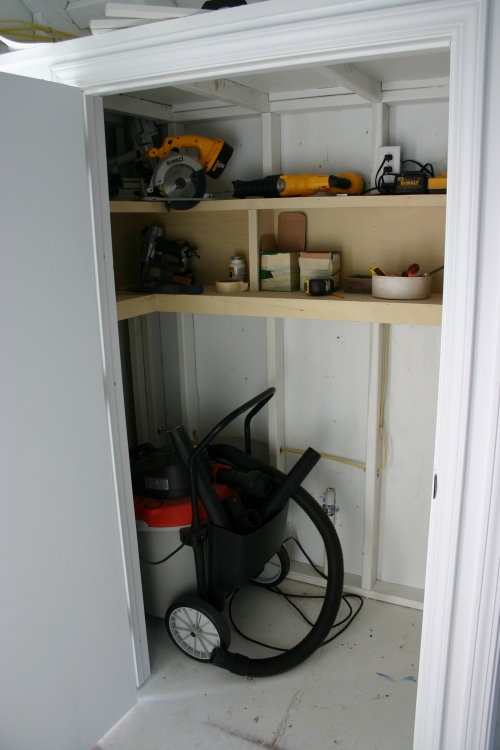
Storage Room

The perches and ceiling wire is in and painted. Lots of Paint. Oh how I hate to paint!

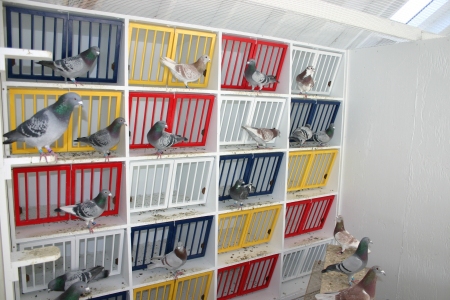
2 sections of nest boxes of 3/4 inch plywood, 2' deep x 2' wide. 20 boxes in each section.

Everything was hand made. 80 doors and all the hardware. It really worked out nice. Magnets hold them up. There is a welding wire inserted through the top of the door and supported with brackets. Much better than hinges.

Here they are completed, I used a nail as a pin to hold the perches back about 6" for a ledge for the birds to sit on.

Feed room with the drain and catwalk under the sink and garbage area.
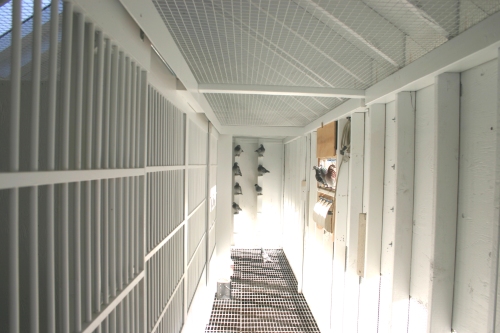
All the doors are handmade with dowels. This is the hallway to the old bird section. Notice the long concrete brick just before the traps on the right. This is the counterbalance for the sliding outside aviary door on the landing board.
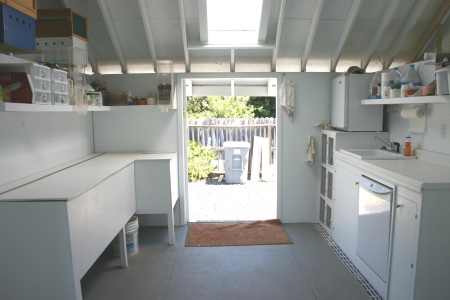
Here is the feed room completed. It includes 3 sick bay compartments on the right with the refrigerator on top of them. A sink , dishwasher and garbage also on the right. Supplies top both sides and feed bins along the entire left side.Sliding back door to the back where I load the birds.
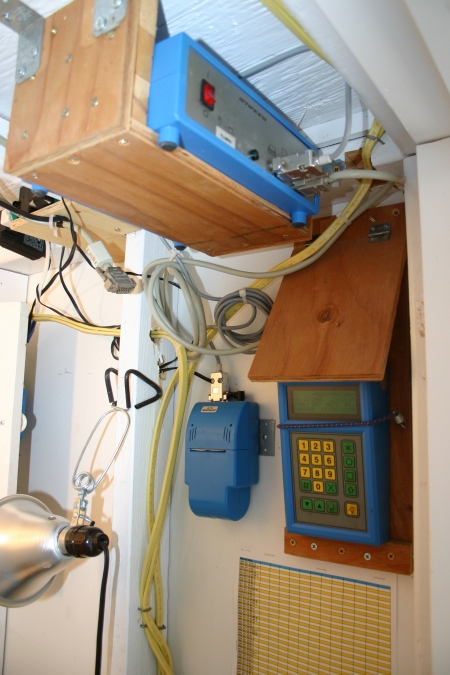
Inside the photo room I have installed all my electronic clock equipment. I use the TIPES and have very happy with it. I purchased it at the 1996 ARPU convention when they were first approved to be used.

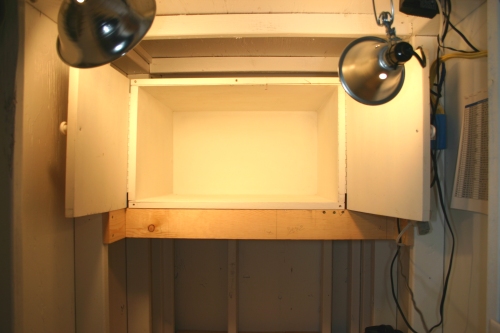
Photo booth, not completed.. I have a tripod arrangement I will feature as soon as I get it completed. Also some
synchronized flashing attachments I think will enhance the photo.


Lots of perches!
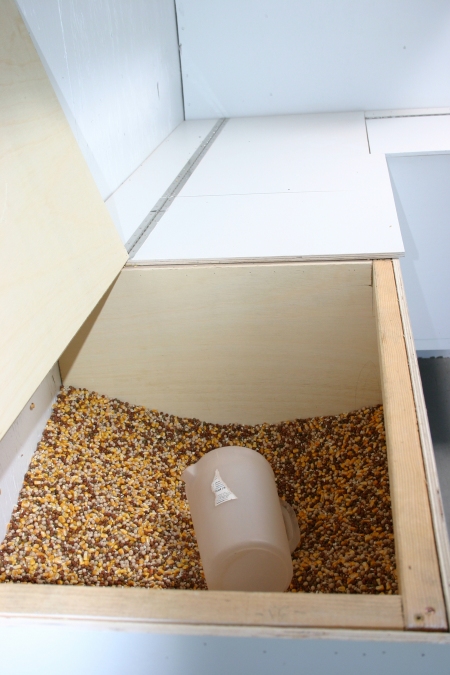
Clean, dry feed is a must if you want healthy pigeons! This bin holds 10 -50 pound sacks of feed.
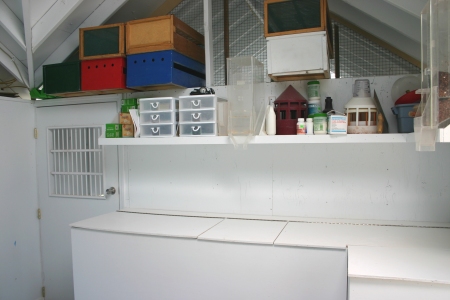
Some above storage, and 4 compartments for feed, grit, barley, safflower etc.
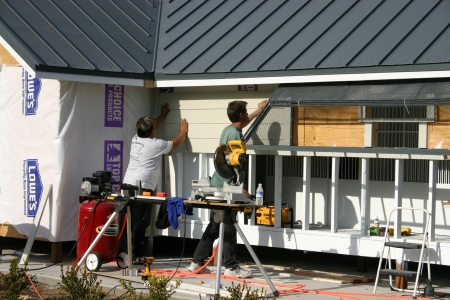
The outside was plyed, then wrapped and then sided with hardi plank.

Gotta have a fan!
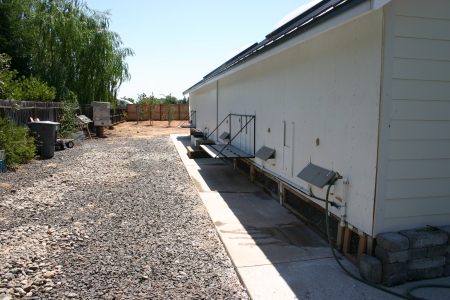
I designed the loft to load and water the birds from the back. These are the exterior waters and the loading platforms.
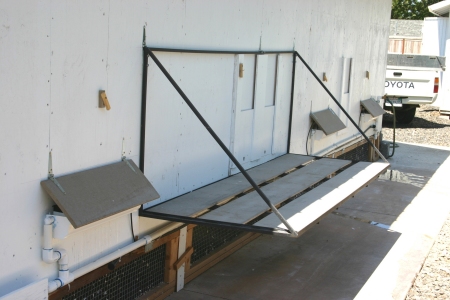
Same material on the loading platform as on the landing board and the water covers.
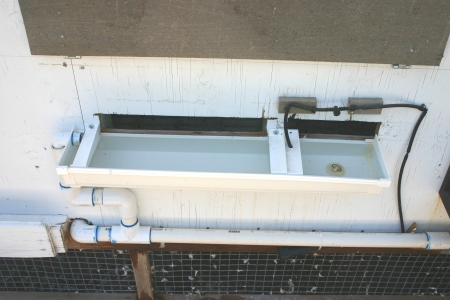
The water system is made from plastic rain gutter material with end caps. It is attached to a drainage pipe on the left. The continuous drip is nice as the birds always have clean , fresh water. I can take the entire trough off and put it in the dishwasher. Or I can just pull the drain plug in the bottom. They are made to hold 1 1/2 gallons of water. I add medications directly into the troughs.
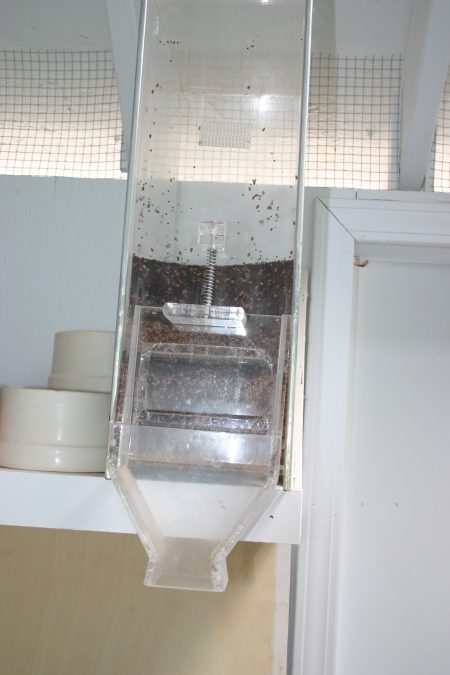
Nice for small grains like flax and rape!
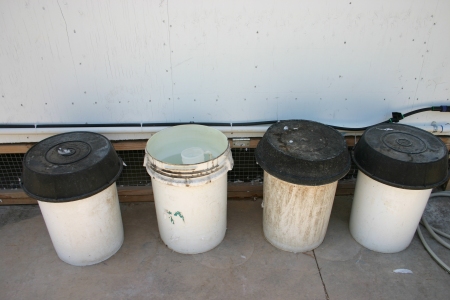
If you use the plastic bullet water (before I finished my drip water system) I always put them in water with Clorox overnight. I swapped them out every morning to ensure clean water.
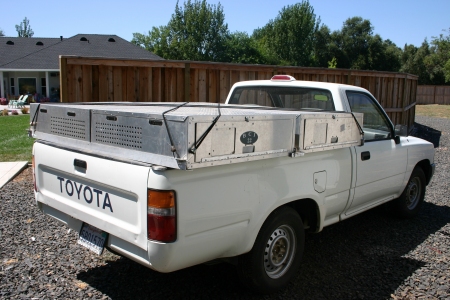
I can load all the birds in 5-10 minutes and I'm off!
I hope this helps!!!
Mike